


This Gatsby post was written for Gatsby 3 and is no longer maintained. If you would like to try out SvelteKit or Astro, check out the maintained posts which are based on those. Astro lets you continue to use React but also with partial hydration which can be used to provide an enhanced user experience. SvelteKit offers server side rendering as well as static site generation. See the post on how performance improved switching from Gatsby to Astro for more background.
🤗 The HTML lang Attribute #
Before looking at how to set the lang attribute
in Gatsby, let's first look at what it is and why it is important. You might have
come across the “<html> element does not have a [lang] attribute” error in Lighthouse when checking your site for issues:

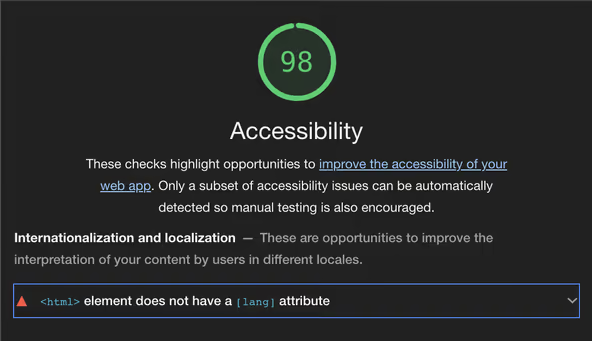
It must be frustrating using a fast site generator like Gatsby or SvelteKit and scoring straight 100s on everything else yet only, 98 on accessibility. One
thing that makes this worse is not knowing how to fix it! We will look at three
solutions for this problem below. All three are easy to implement in Gatsby, so
you can ace your Lighthouse test in no time. Before that, though, we should answer
the question, what is the lang attribute for?
A critical function of the lang attribute is in
assisting screen readers. These are often used by people with accessibility needs.
The lang attribute helps screen readers get the right pronunciation. For that reason, it is important not only to set the attribute, but also to
ensure you set the correct region or dialect as well. More on that later. The
tag appears right at the top of an HTML document. If you have developed
vanilla HTML5/JavaScript websites, you might already be familiar with it and
know how simple it is to add it to HTML. The lang attribute should appear in your site's HTML thus:
1 <!DOCTYPE html>2 <html lang="en-GB">3 <head>4 ...5 </head>6 <body>7 ...8 </body>9 </html
Every page on your site needs to include the attribute. Breaking it down,
“en” tells screen readers the site
is in English and “GB” restricts
this to English as spoken in Great Britain. You can find the right code for your own language/region combination on the W3C website . Now you know what the lang attribute is, let
look at how to set it in Gatsby.
🗳 Poll #
Set the lang Attribute in Gatsby: Method 1 #
How to Set the lang Attribute in Gatsby #
-
Please enable JavaScript to watch the video 📼
Set the lang Attribute in Gatsby: Install gatsby-plugin-html-attributes. gatsby-plugin-html-attributes:npm install gatsby-plugin-html-attributes -
In VS Code, vim or which ever text editor you like to use, open the
gatsby-config.jsfound in your project's root folder and add options for the plugin you just installed: -
Please enable JavaScript to watch the video 📼
Set the lang Attribute in Gatsby: Check your Work htmlelement should now have alangattribute. If you use Chrome, look for Elements instead of Inspector.
Set the lang Attribute in Gatsby: Method 2 #
If you are already using the react-helmet plugin on your Gatsby site , you can use that instead of adding the plugin we mentioned above. If you
don't already have react-helmet installed, install
it to get going on this method:
npm install react-helmet gatsby-plugin-react-helmet
There are no options that you need to configure for react-helmet, just let
Gatsby know you are using it by editing gatsby-config.js:
module.exports = { plugins: ['gatsby-plugin-react-helmet'], ]}
Finally, add the following code to a component that is rendered for every page. You might choose an SEO or Layout component:
import { Helmet } from 'react-helmet' const Layout = () => ( <> <Helmet htmlAttributes={{ lang: 'en-GB' }} /> // other code in your component </>); export { Layout as default };
Set the lang Attribute in Gatsby: Method 3 #
This final method is also pretty easy. You do not need to install any extra
components this time. We use a Gatsby Server Rendering API. Although it can
sound daunting, all you need to do is create a file and add the three lines of
code below (changing the language code as appropriate for your own use). You
will need to create a gatsby-ssr.js file in your
project's root directory (if it does not already exist):
export const onRenderBody = ({ setHtmlAttributes }) => { setHtmlAttributes({ lang: 'en-GB' });};
You can achieve the same result by editing a file src/html.jsx. However, this method (above) is only three lines of code, so far quicker
than the html.jsx method. You can also use onRenderBody to add scripts to the HTML head, for example. When you're looking at analytics
scripts, opting for the Server Rendering API method can improve user experience.
That is because those scripts will be loaded slightly later, freeing up time to
get what the user is looking for displayed sooner. Read more about this in the Gatsby documentation .
🙏🏽 Feedback #
That's it! Now you know three ways to set the lang attribute in Gatsby. I hope everything was clear. However, I would love to hear
from you if you have any improvements. Read on to find ways to get in touch, further
below. If you have found this post useful and can afford even a small contribution,
please consider supporting me through Buy me a Coffee.
Finally, feel free to share the post on your social media accounts for all your followers who will find it useful. As well as leaving a comment below, you can get in touch via @askRodney on Twitter and also askRodney on Telegram . Also, see further ways to get in touch with Rodney Lab. I post regularly on SvelteKit as well as Gatsby JS among other topics. Also, subscribe to the newsletter to keep up-to-date with our latest projects.